|
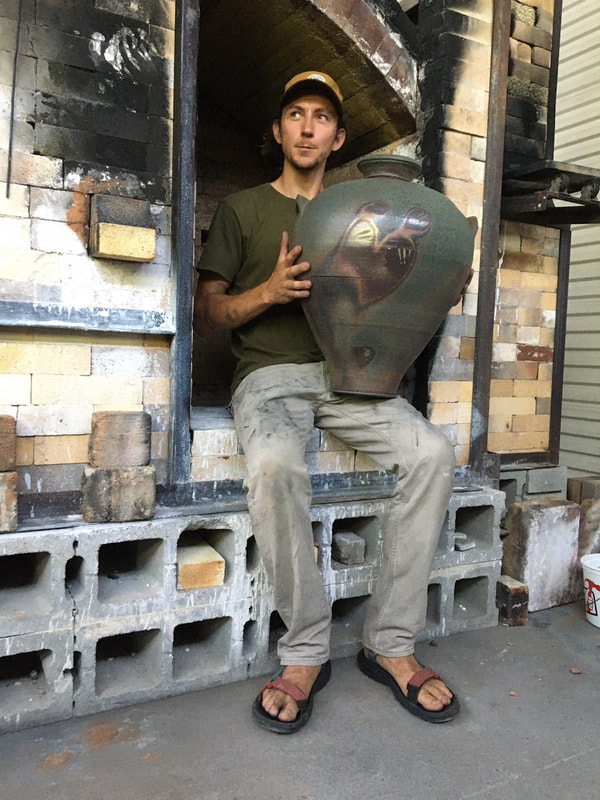
I have spent the last 8 years relying on travel, residencies, and the generosity of other artists to provide me with facilities to make and fire my work. Keeping my worldly possessions to a minimum I've rambled across the country from studio to studio in order to learn, experience, and grow as much as possible with the hopes of eventually finding the right place to settle down to build my very own studio and kiln. Since landing here in the Berkshires 3 years ago, I've felt more and more the inkling of intuition that this may be the place to begin to build my dream. Stay tuned:)
|
|
As with any potter, my process begins with my clay. The clay we choose to work with is our very first aesthetic decision. I am currently designing and testing my very own clay bodies. Qualities that I find desirable in a clay body are good workability, high-firing temperature, and their potential for beautiful color when fired in atmospheric kilns. My future studio will have a nearby clay source that I will be able to harvest from and create with.
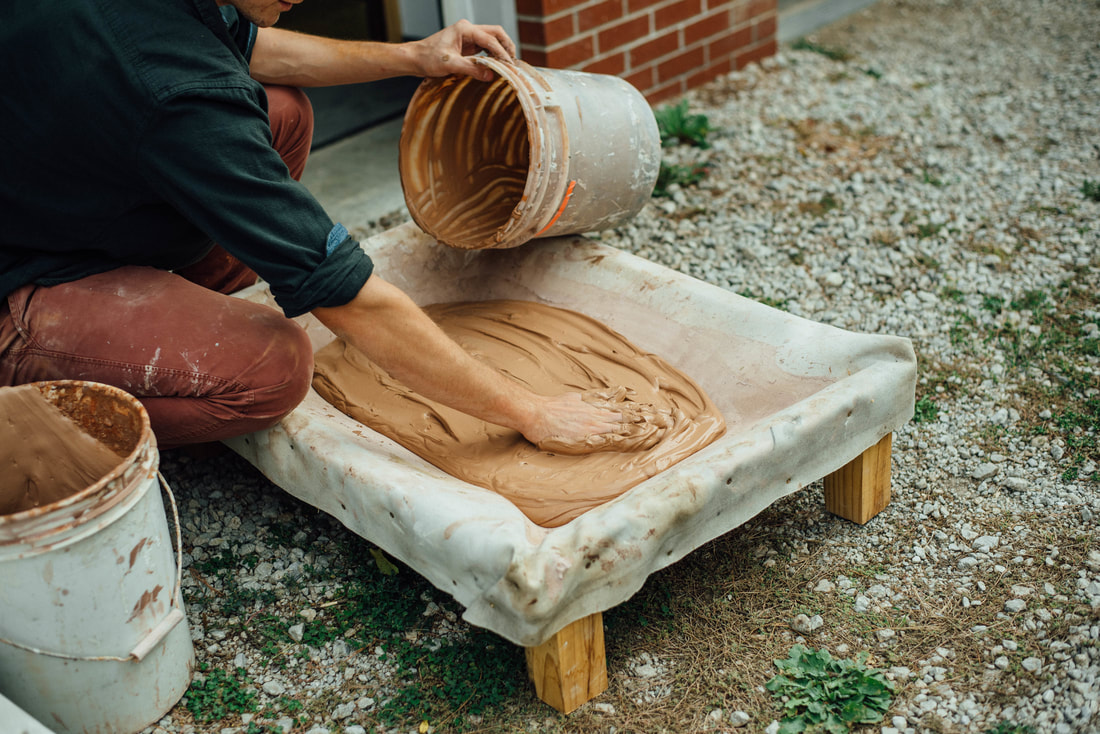
Spreading out to dry a batch of reclaimed porcelain with added red clay.
|
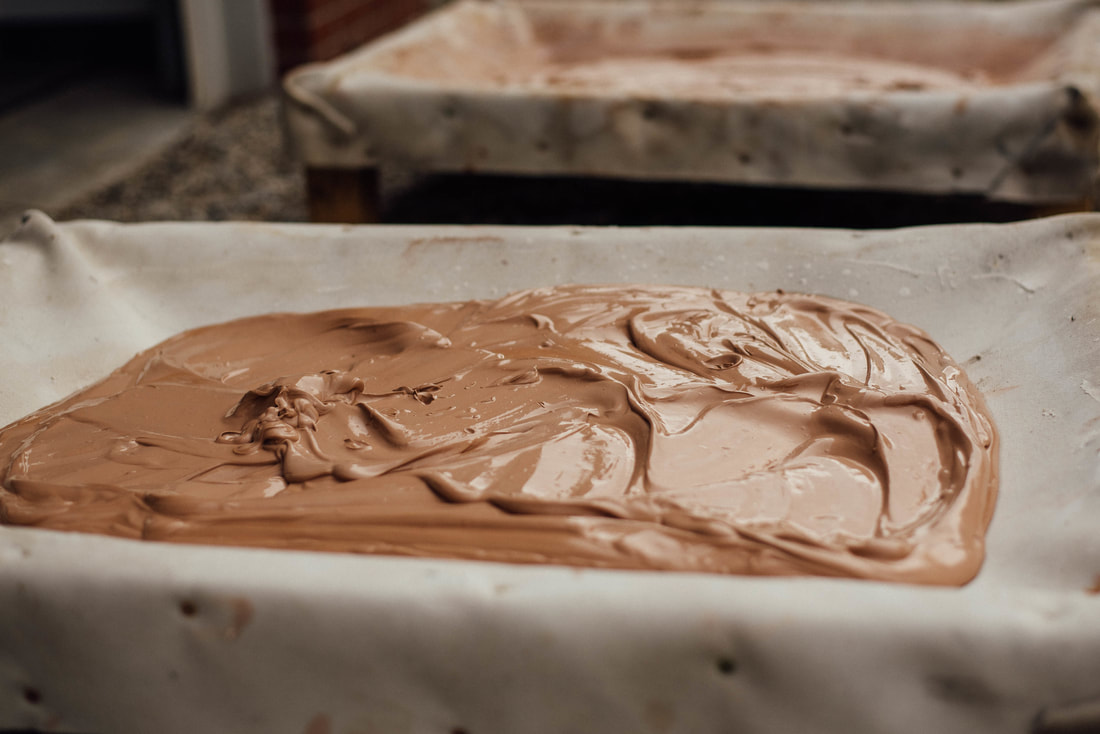
This material is beautiful.
|
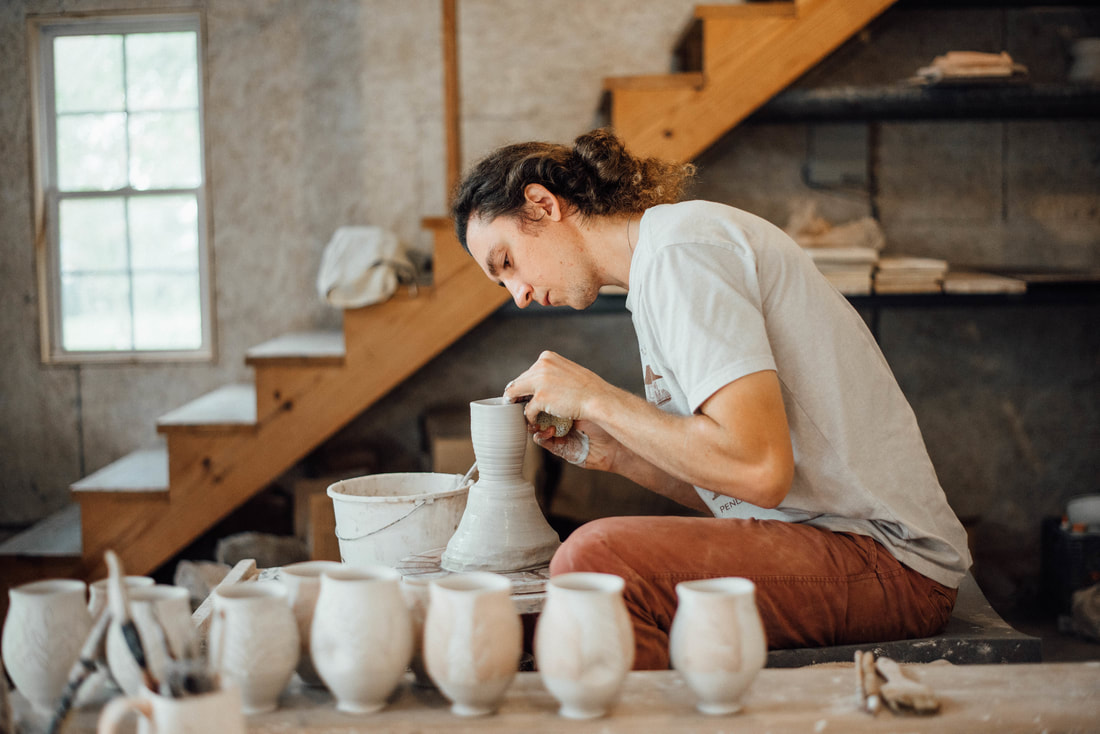
Most of my pots begin on the potter's wheel. Here I will take you through the process of making a cup.
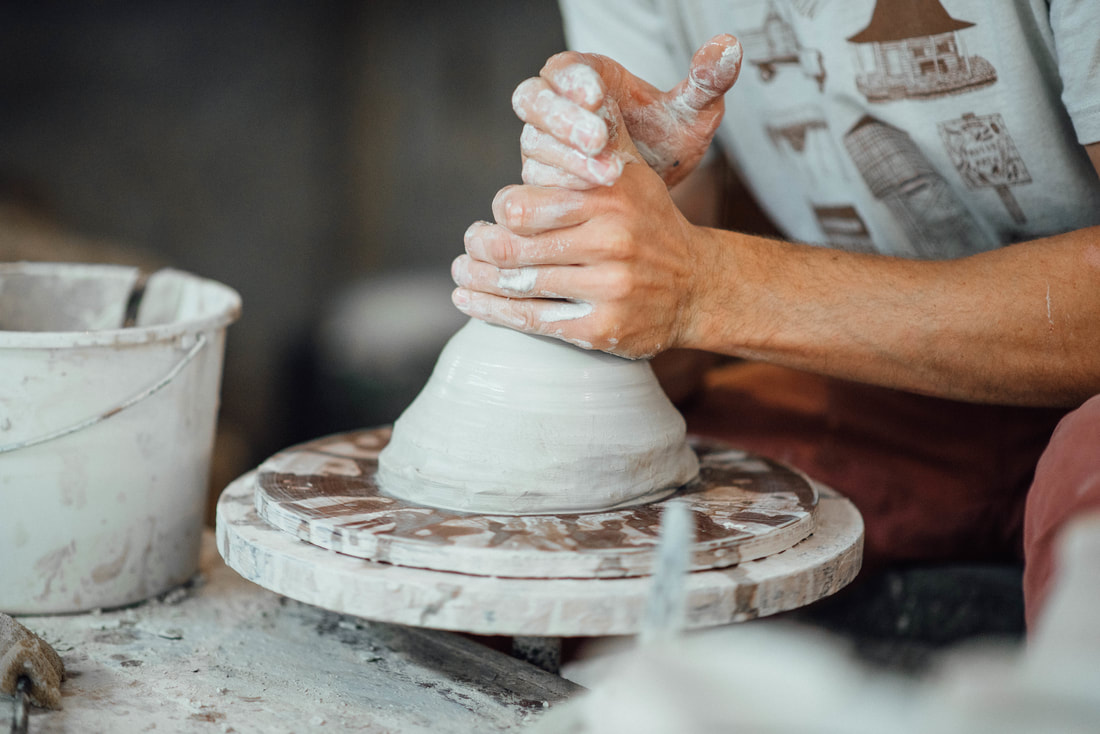
Every pot begins with centering.
Beginning to take shape.
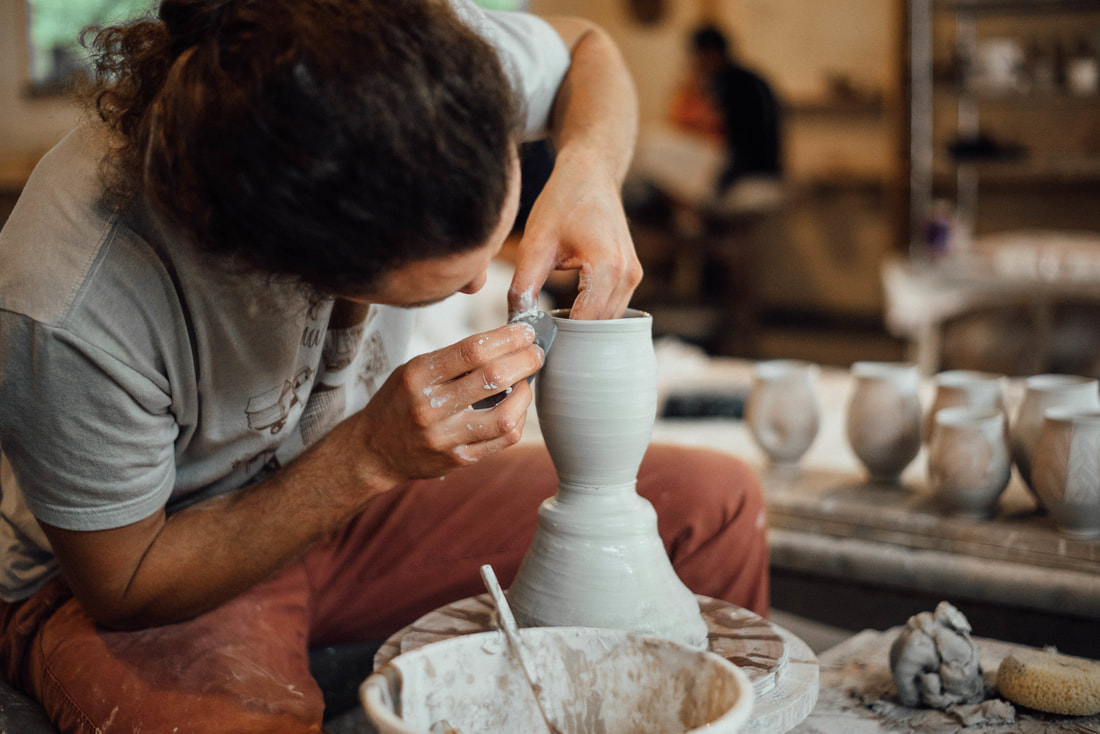
Refining the curve.
|
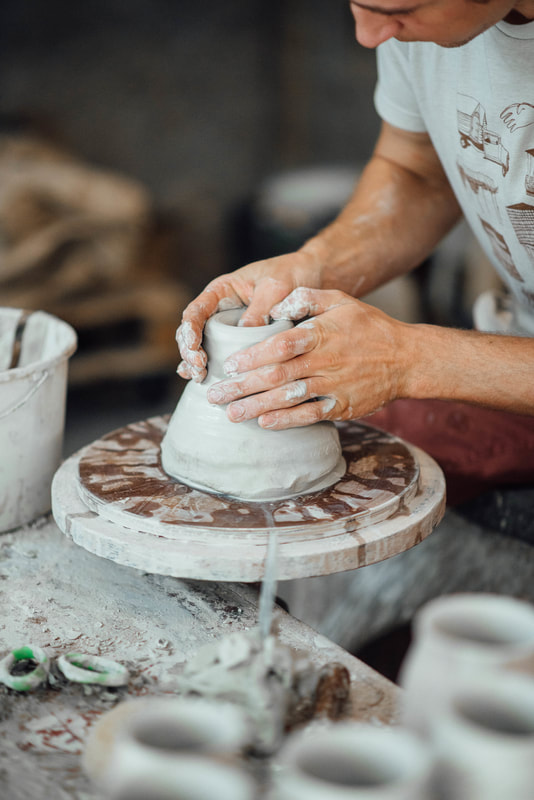
Opening.
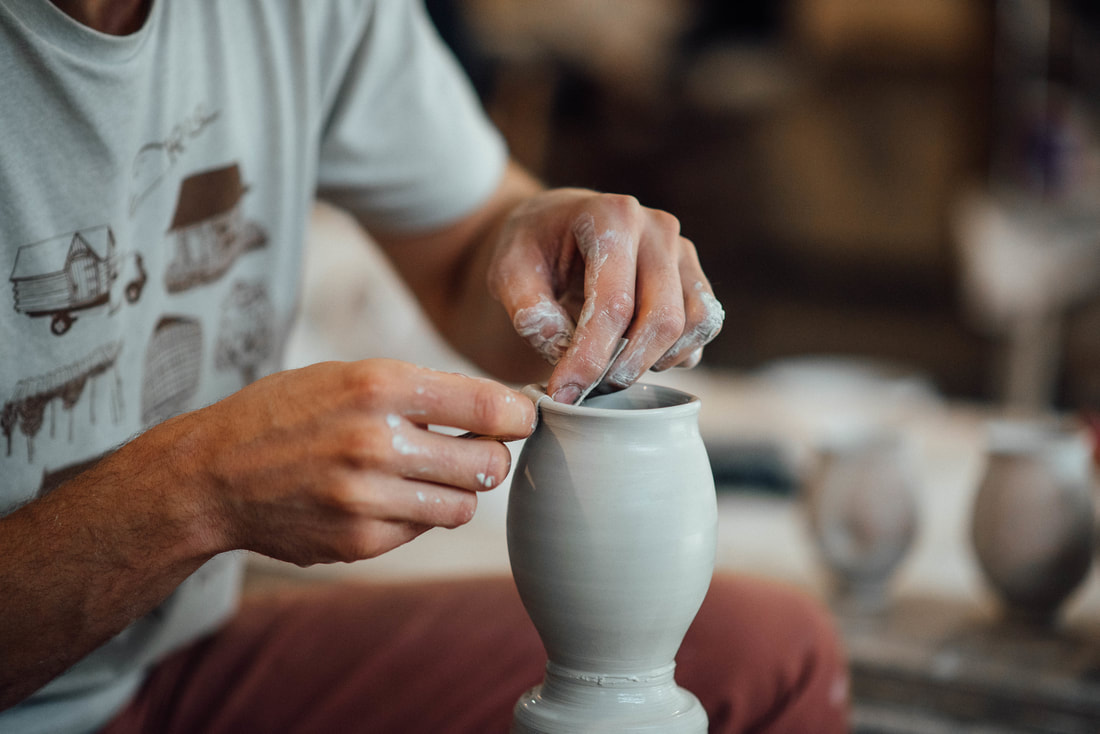
Refining the lip.
|
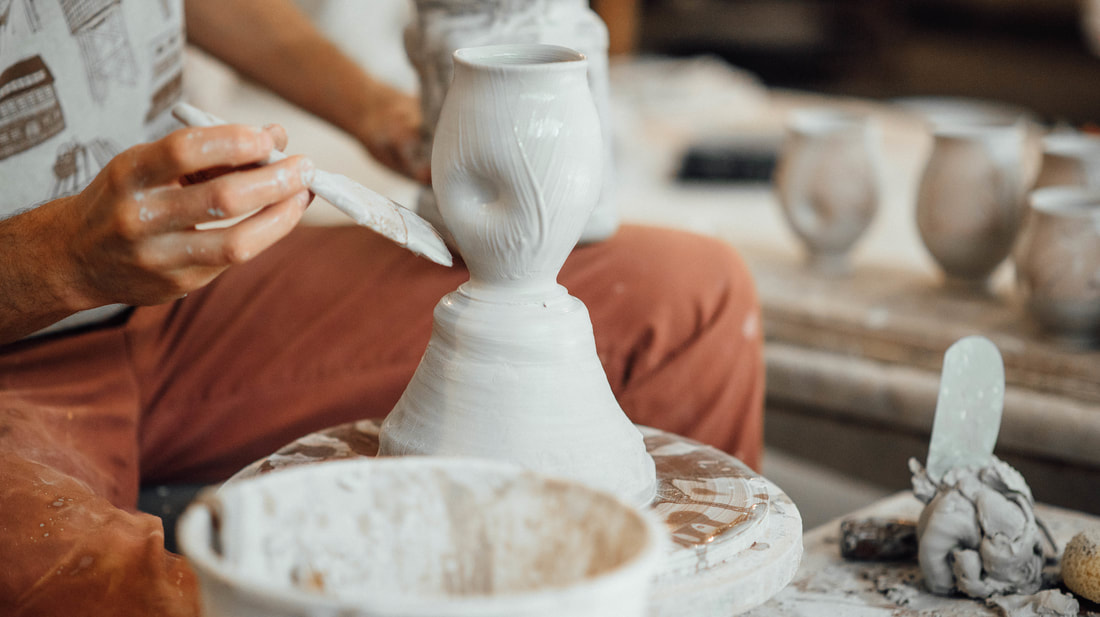
Painting on a thick slip, brushed texture.
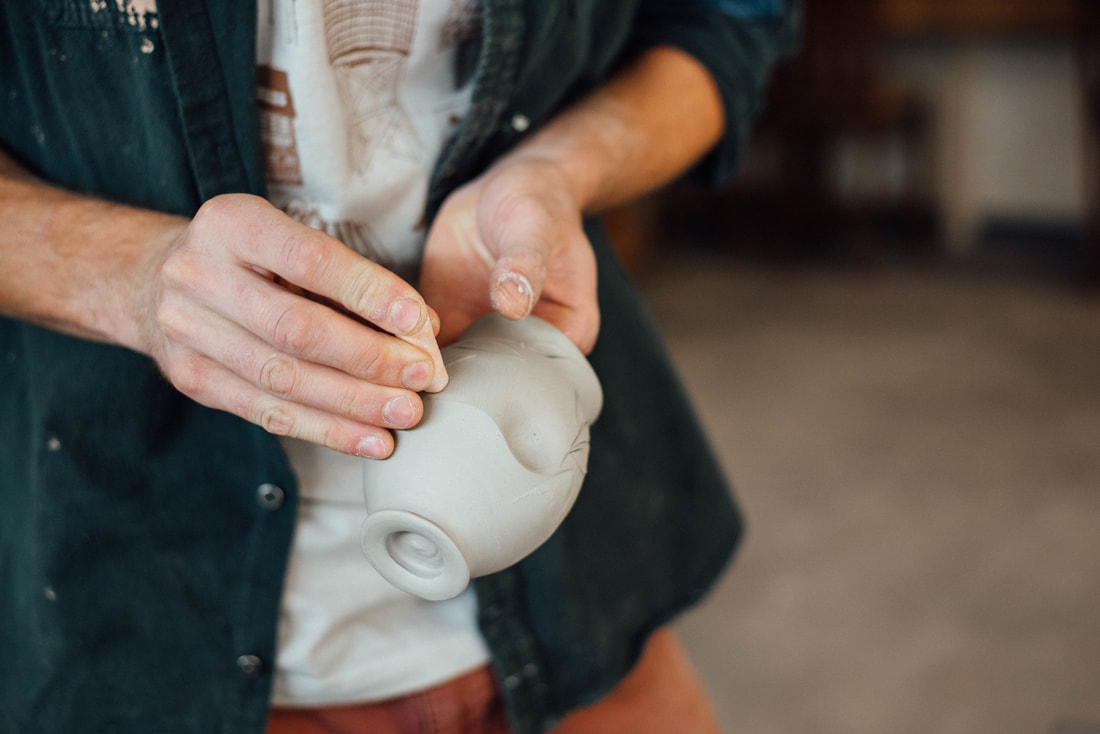
After throwing several cups like this, I then have to wait a day or so for the clay to dry out to a stage called "leather-hard". At this stage I can safely handle the pots without distorting their shape or ruining their textures, and finish the foot in a process called "trimming", or "turning".
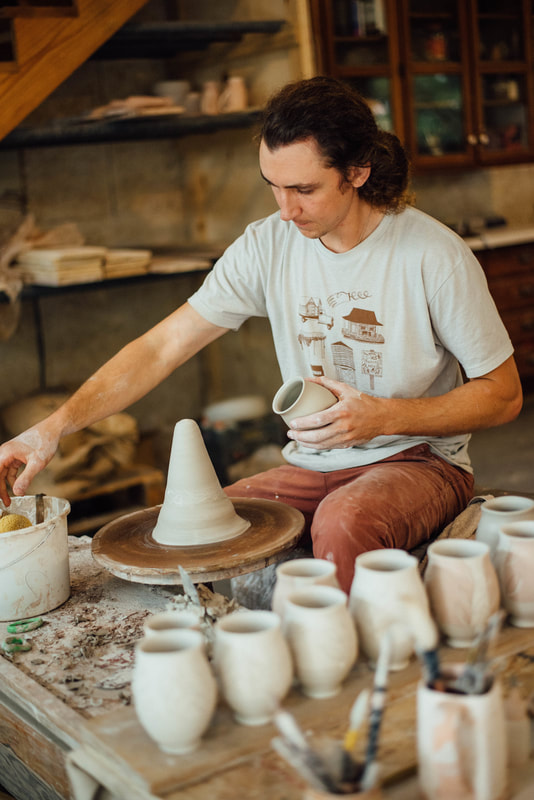
Clay thrown into a cone shape called a "chum"
|
Chum holding the pot to be turned.
|

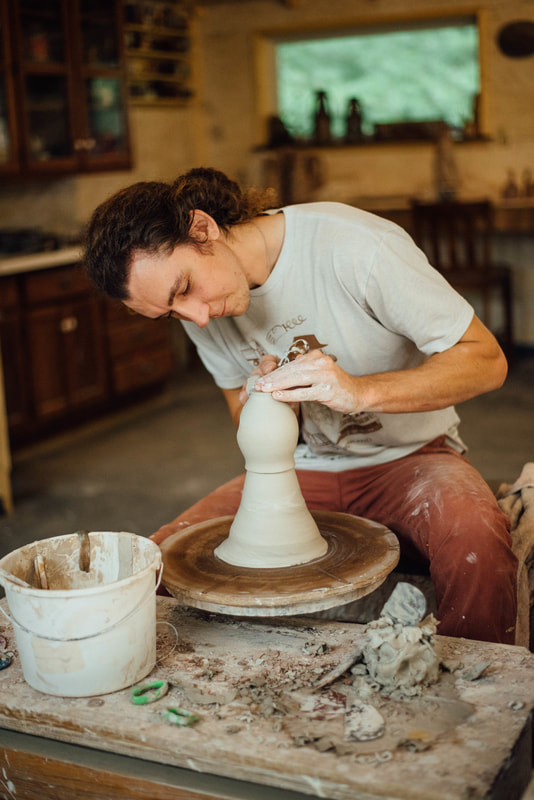
Trimming a foot.
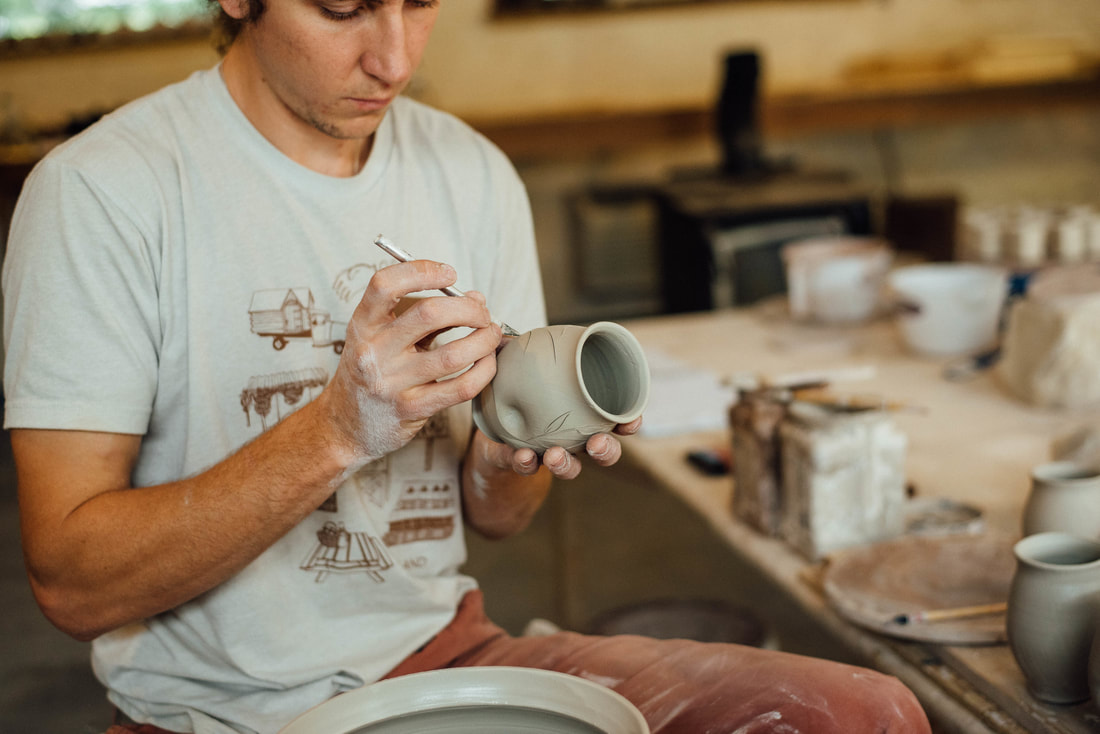
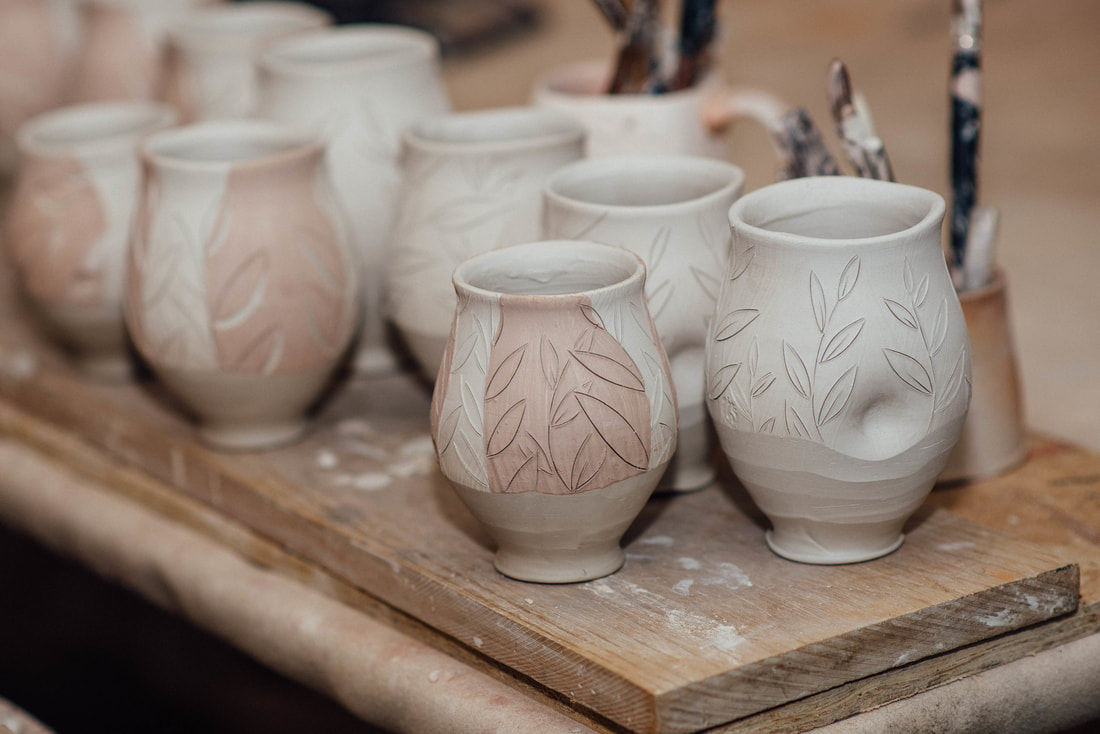
Finally, with the foot trimmed, I can go back in and decorate. I use a combination of tools including an xacto blade, to carve elegant designs into the surface of the cup.
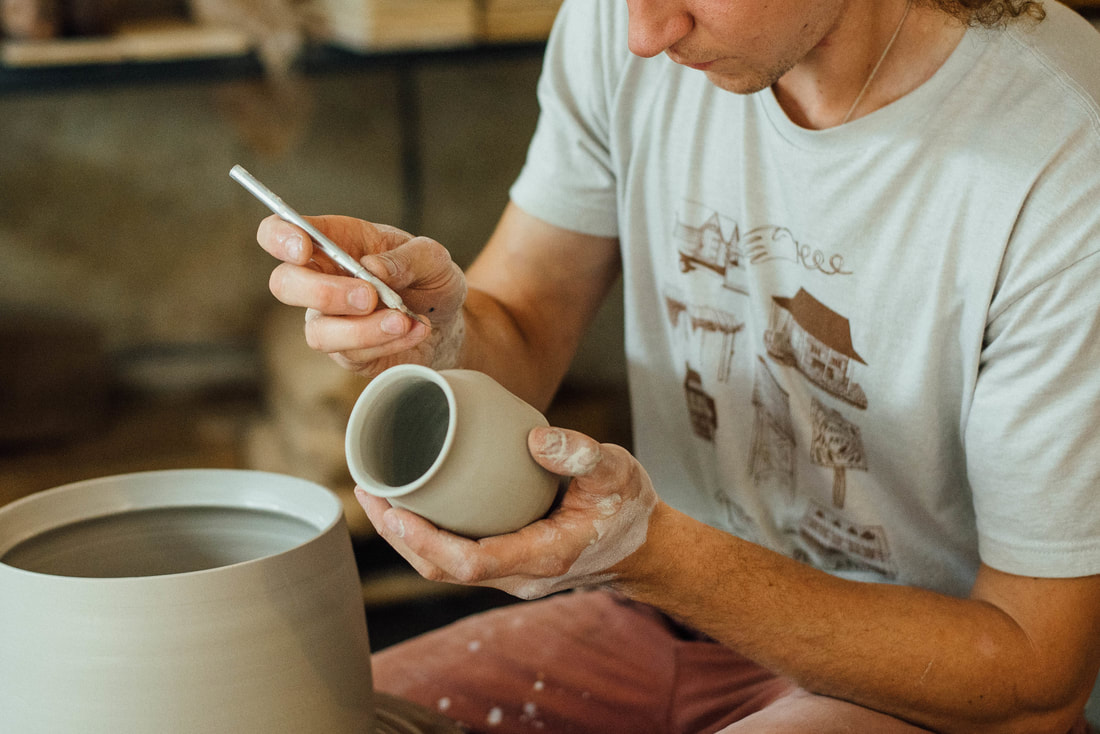
Planning decoration.
|
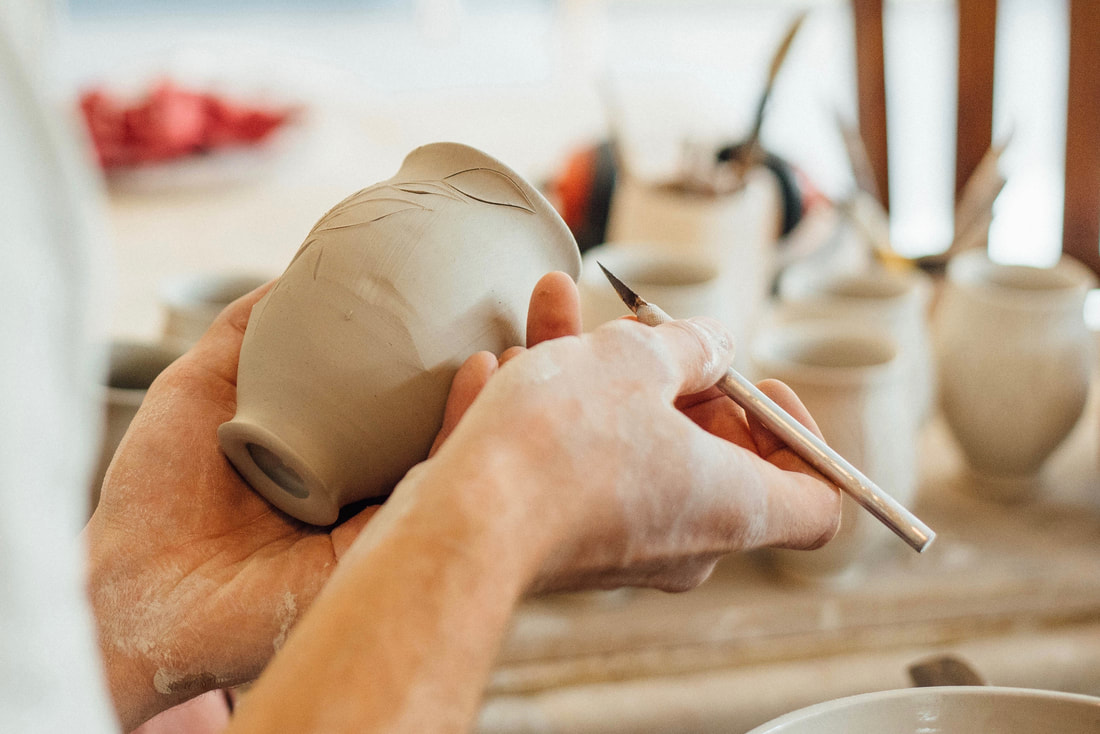
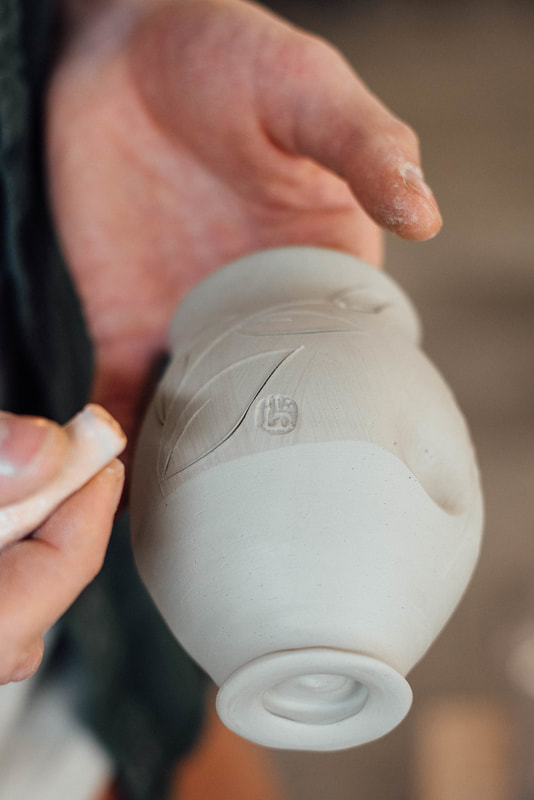
Carving leafy patterns.
|
Finally, the cup gets my signature stamp. A small "h".
|
|
Finished!
What happens next? Read a little bit about the wood firing process here.
Huge thank you to Emily Kraus of Elouise Photography for the wonderful photos.